It can be time consuming to set up and perform several change detection analyses. The GCD software simplifies this process with two batch change detection features. This section describes the multiple epoch batch intended for quickly analyzing predefined pairings of surfaces that are sorted into chronological order. See the generic batch documentation for information on the other kind.
Creating a Batch Analysis
First before running this feature, it’s a good idea to make sure that you have three or more DEM Surveys in your GCD project and that you’ve created the necessary error surfaces for those items that you want to use.
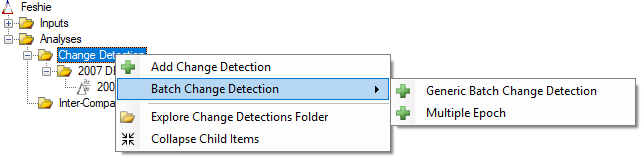
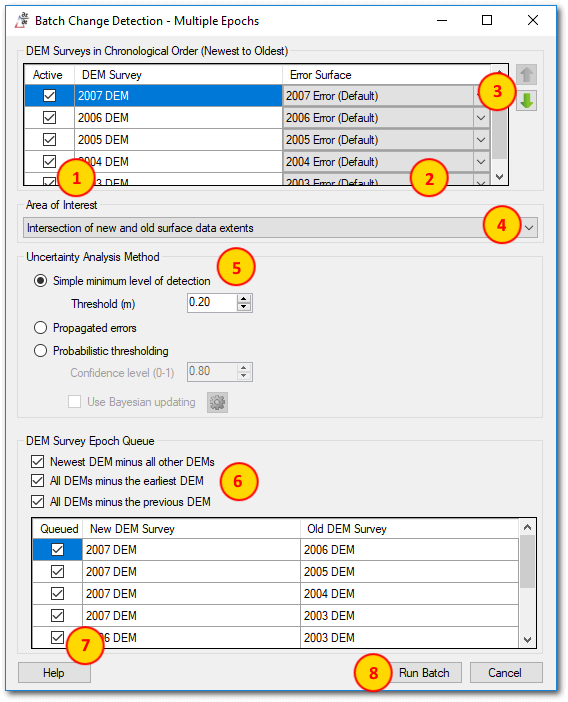
Click the Multiple Epoch menu item shown above to launch the user interface shown below and then follow these steps:
- Check the box beside the DEM Surveys that you want to consider for the batch (1). This is just an initial filter and the final inclusion or exclusion of a particular DEM Survey is perform below (7).
- Pick the desired error surface for each DEM Survey (2). This step is not necessary if you intend to use minimum level of detection thresholding (3). Note that the same error surface will get used whether the corresponding DEM Survey is used. i.e. It is not possible to use a different error surface for different change detection analyses.
- Click the Up and Down arrows (3) to re-order the DEM Surveys so that they are in chronological order with the newest survey at the top and the oldest at the bottom. This step is critical for the steps that follow.
- Pick whether to use the entire data extent of each pair of DEM Surveys or to use a consistent area of interest for each analysis (4). It is recommended that an area of interest be used because it will ensure a consistent area for each pairwise comparison. Not doing so could lead to results over different areas making them difficult to inter-compare.
- Choosing a thresholding method (5). These controls work the same way as the manual change detection form.
- Pick which types of DEM pairs should be added to the batch queue. There are three options:
- Newest DEM minus all other DEMs will take the DEM at the top of the list (1) above as the new DEM and pair it with each of the other DEMs that have a checkbox beside them.
- All DEMs minus the earliest DEM will take the DEM at the bottom of the list (1) above as the old DEM and pair it with each of the other DEMS that have the checkbox beside them.
- All DEMs minus the previous DEM will take all DEMs from the list above that have a checked box beside them and use them as the new DEM, then pair it with the next oldest DEM that also has a checked box.
- The final step is to review the DEM pairs in the epoch queue at the bottom of the form (7) and un-check the box beside any that are not wanted.
Running the Batch
Once you have configured the multiple epoch batch, click the Run Batch button (8 above). Large batches might take several minutes to process. Watch the status bar for an indication of progress.
Batch change detection results are stored and displayed in the GCD project explorer just like any other, manual, change detection. Click on any individual analysis to view the results or use the inter-comparison feature to compare several analyses to each other.